|
Mercury
Desktop |
Mercury
Desktop Screen Shots |
|
|
|
|
Download
the latest GDC (32 bit or 64 bit) from our web site and Install (remove any
old versions keeping the installation folders if not empty). Chose all the
defaults Click
Next Click
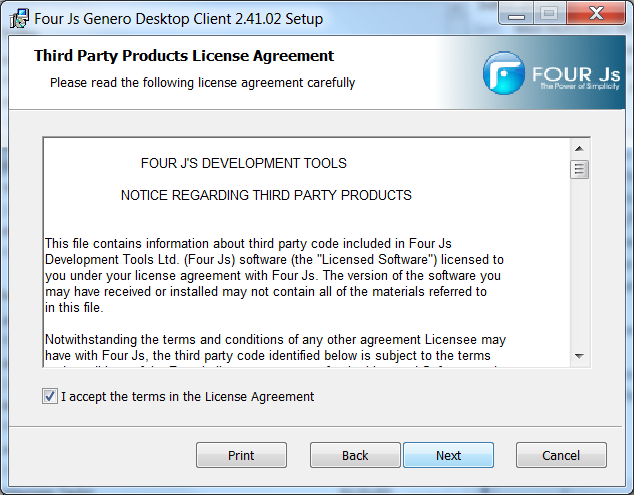
Next Tick
the agreement and Click Next Tick
the agreement and Click Next Click
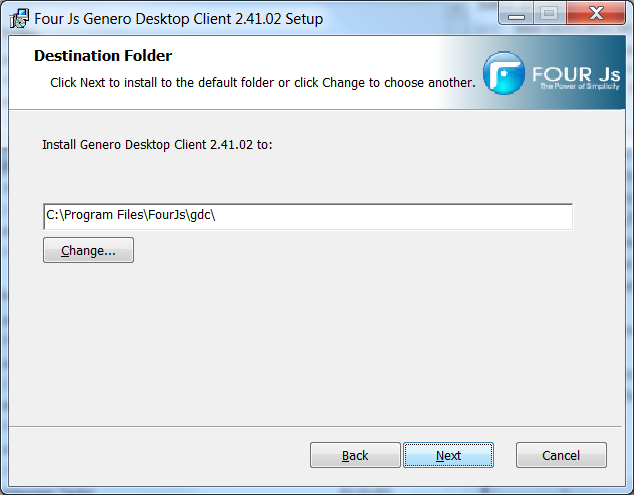
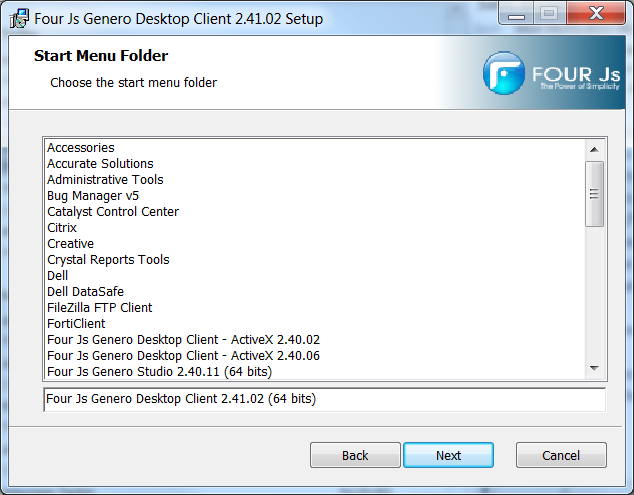
Next Click
Next Click
Install Click
Finish
|
|
|
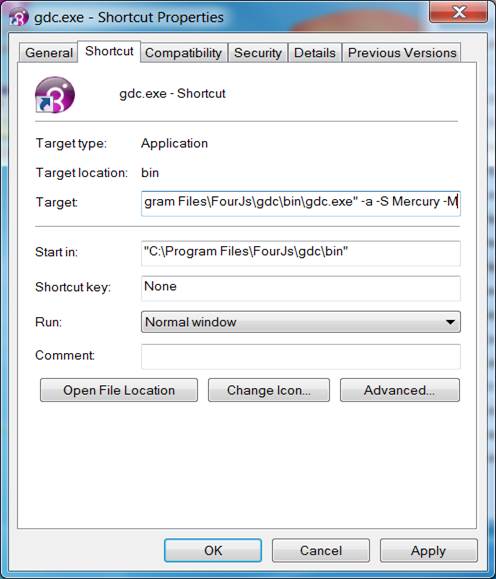
Create a shortcut on the desktop to
the gdc.exe and edit the target in properties. -a Allow access to the
“shortcuts” -M Start minimised on the task bar -S Mercury Start with
the shortcut Mercury If you have the AS
icon you can set icon accordingly Run the GDC from the
amended icon Note The GDC saves itself
on the task bar and needs to be quit before any changes to the properties
take effect. The configuration is
saved in the GDC folder usually C:\program files\fourjs\gdc\etc
in the files config.html and hosts.html. These files may be saved before an
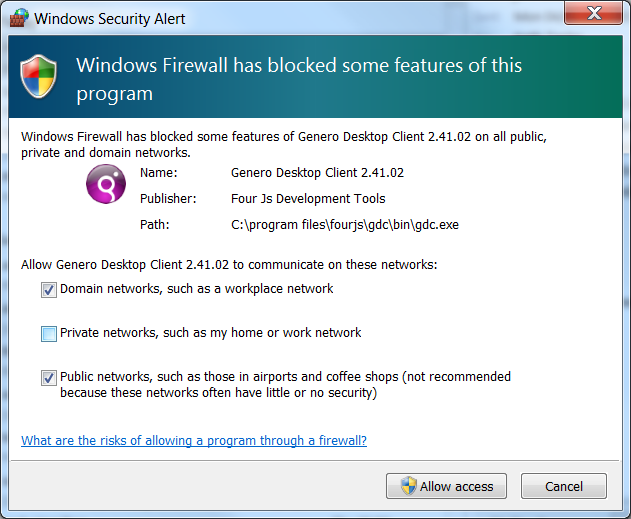
update and restored reducing the need to configure the GDC. The first time the GDC
is run you may get request to allow the GDC through the fire wall tick the
networks required. You will also a message indicating that the shortcut
Mercury cannot be found. This is correct because we have not created it yet.
|
|
|
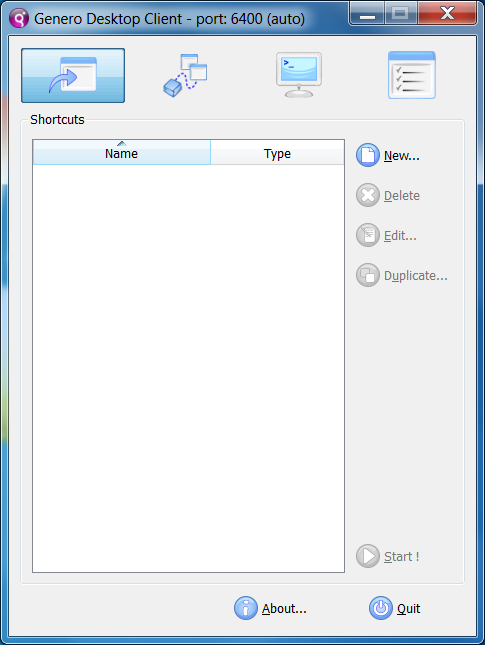
Right click on the purple icon in
the task bar and select “show” Click “New” to add a short cut, edit
to amend an existing shortcut or Duplicate to create a new shortcut copying and
existing shortcut
|
|
|
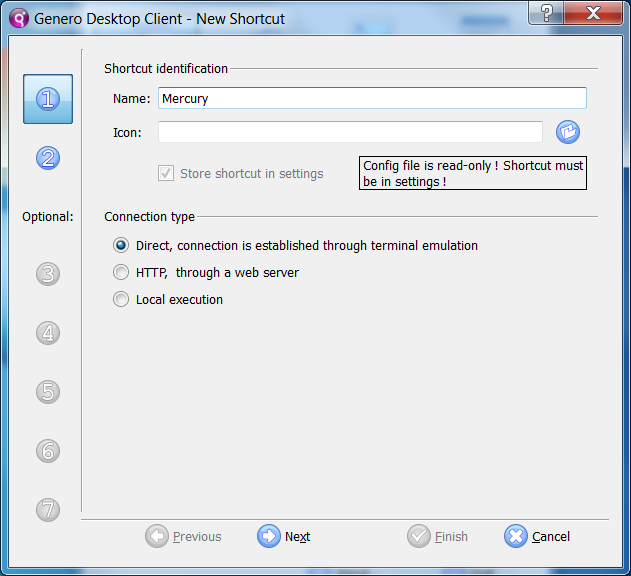
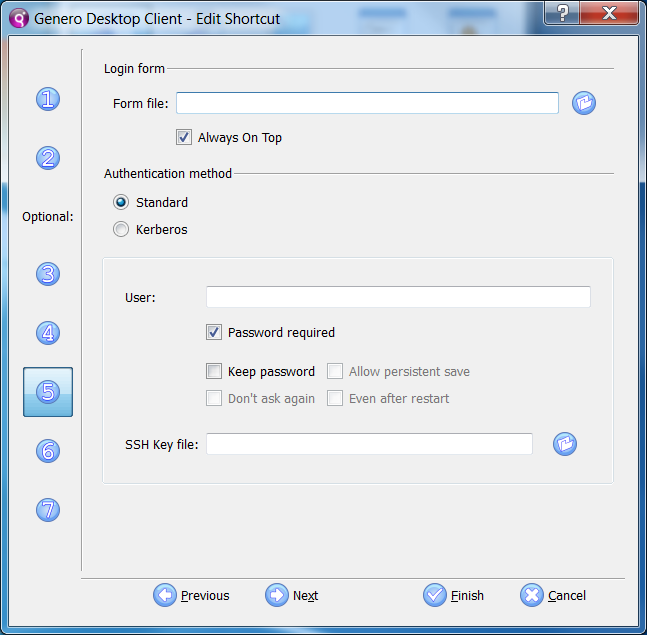
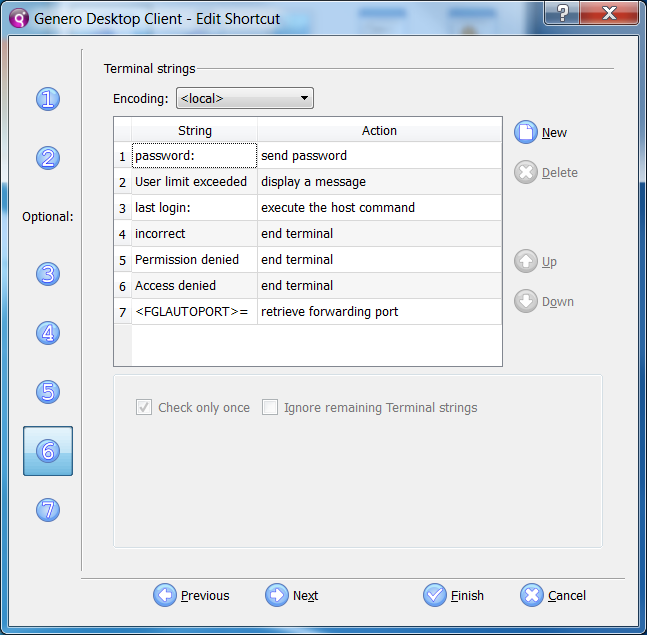
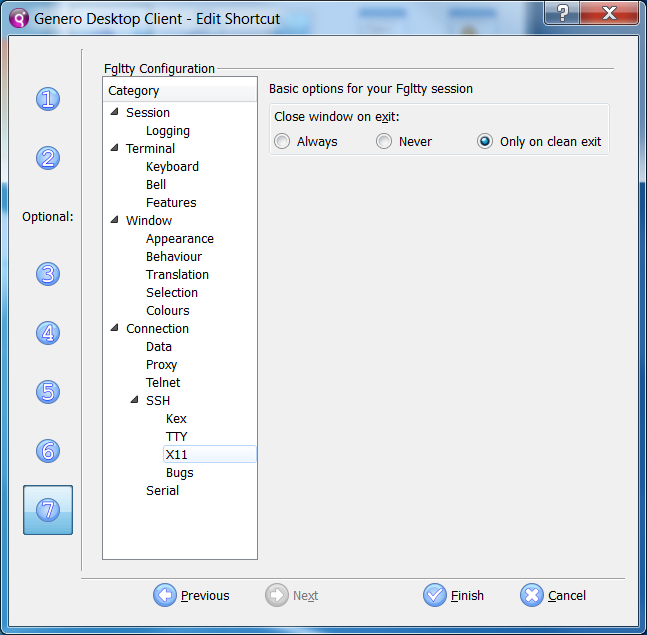
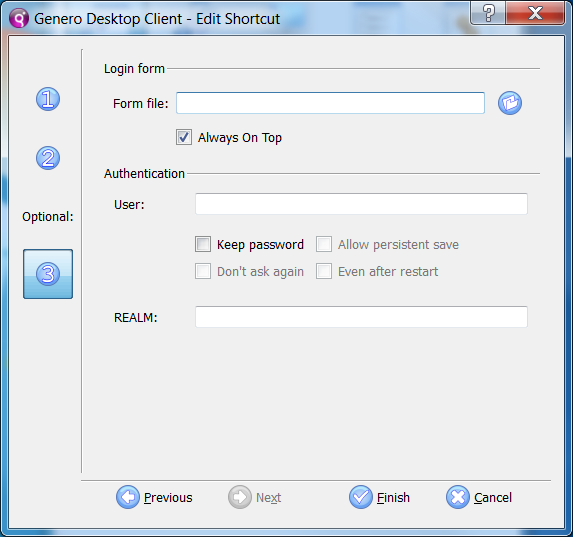
Enter the shortcut name of Mercury
(there may be other shortcuts for example a test system). Select connection type Direct, connection is established
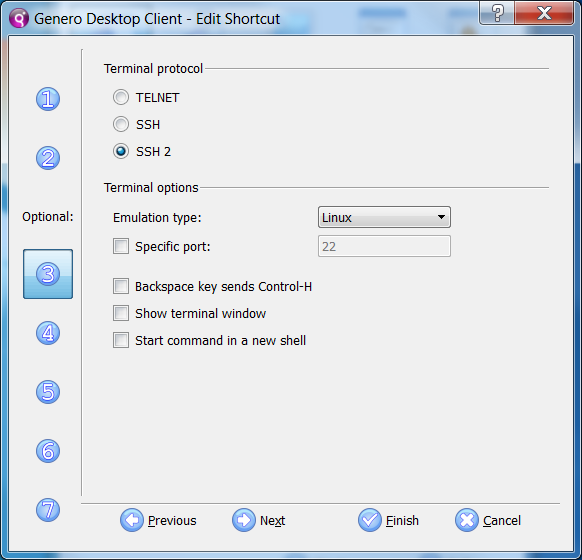
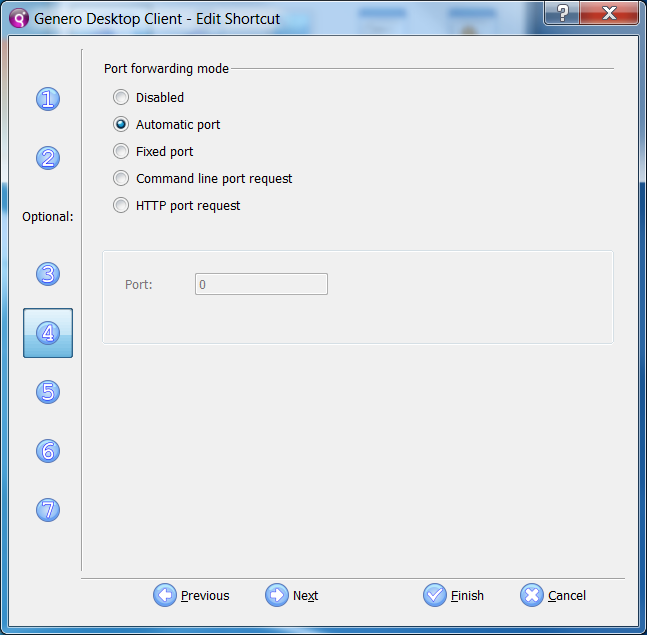
through terminal emulation. Enter the name or IP address of the Linux server. Enter the command /home/gprogs/Mercury.r The screens 3 to 7 are set up as
shown with only amended required on screen 3, the rest should be as default. Click Finish Click quit Start the GDC from the icon |
|
|
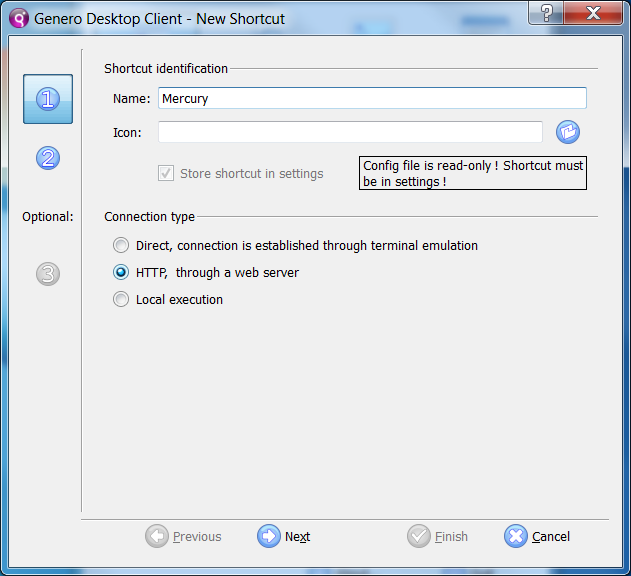
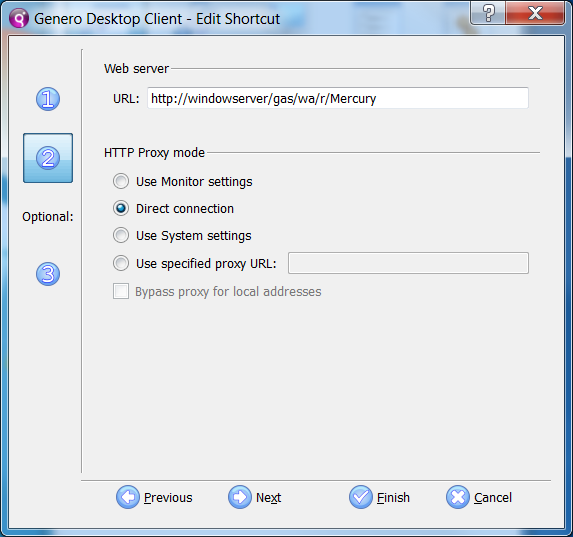
Enter the
shortcut name of Mercury (there may be other shortcuts for example a test
system). Select connection type the HTTP, through a
web server Screen 2 http://windowserver/gas/wa/r/Mercury Enter the “URL” in the format: http://windowserver/gas/wa/r/Mercury
- Mercury 3 http://windowserver:6394/wa/r/Mercury
- Mercury 2 Screen 3 is
set up as shown and should be as default. Click
Finish Click quit Start the
GDC from the icon |
|
|
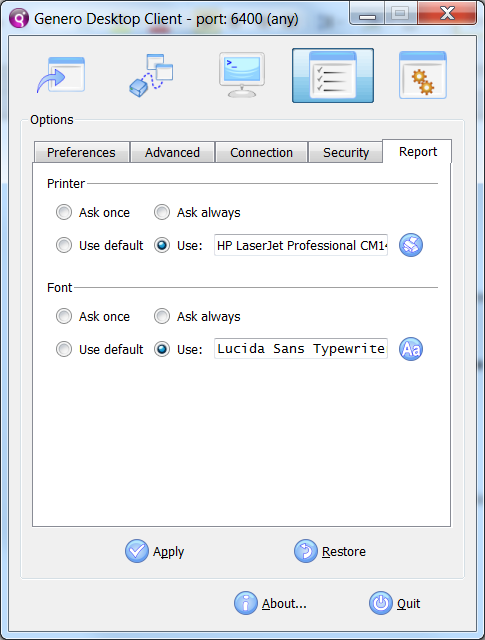
Mercury 3 in most cases will produce
a PDF that the user may print from the PDF reader. Mercury 2 using a Windows server will
print via the PC and requires some settings in the GDC and will need changing
for Portrait and for Landscape reports. Run Mercury with the following
options "C:\Program Files\FourJs\Genero Studio\gdc\bin\gdc.exe" -a -M -S Mercury -a for amend mode -M start as minimised -S Mercury – runs the Mercury
shortcut (If Mercury has been start quit and
start again) The settings are in the GDC (Genero desk top client) purple icon in the bottom right
task bar. Right click on the purple icon and
click show. Select the fourth icon, report tab. In the printer section tick “use”
and select a printer via the browse button. Within the selected printer
properties set the printer to Portrait or
Landscape as required. In the Font section tick “use” and
select the font vis the browse button : Lucida Sans Typewriter size 8 |
|