|
ODBC |
ODBC
Screen Shots |
|
Informix ODBC Connection SQL Server ODBC Connection
|
|
|
Install
the Informix Client SDK 2.8 ODBC
drivers; these are available for download from our web site. When prompted
for the type of set up select ‘Complete’ Configure
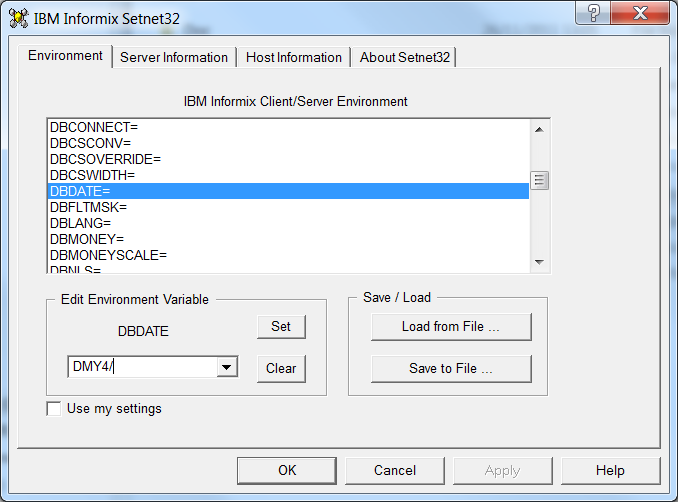
the DBDATE environment variable 1.
Run Start>All Program>IBM Informix
Client>setnet32 2.
Locate the environment variable ‘DBDATE’ from the list and select. In the
‘Edit Environment Variable’ window enter DMY4/ in the drop down and click
‘Set’. 3.
Click ‘OK’. Should the message ‘IBM Informix Server has not been set, save
anyway?’ appear click ‘OK’ again. 4.
For Windows 7 please login as a user and check that this setting has been
stored. If not, this will need to be configured for each user and ‘Use my
settings’ will need to be selected.
|
|
|
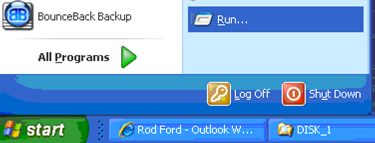
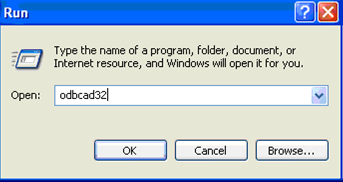
Click Start then Run or enter Run in the search box for Windows
7 or Vista In the Run window type odbcad32 and click OK. (on 64 bit machine run the ODBC
connection from C:\Windows\SysWOW64\odbcad32.exe) Or Click start – Control Panel –
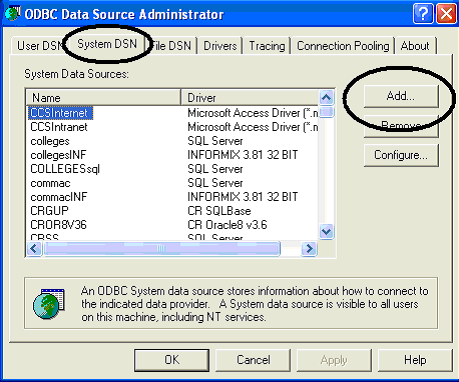
Administrative Tools – Data Sources (ODBC) In
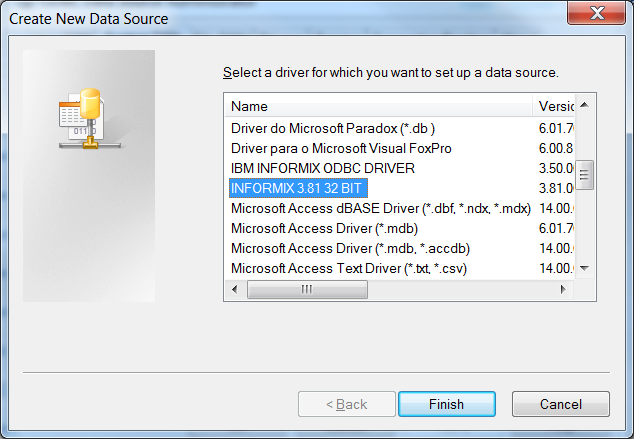
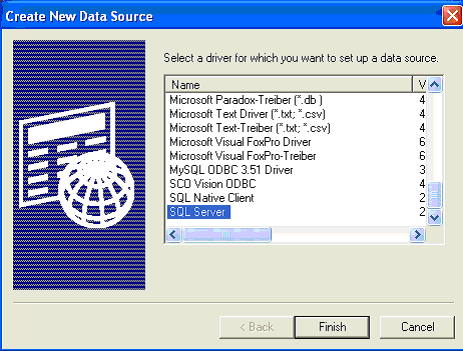
the ODBC Data Source Administrator window select the System DSN tab and click
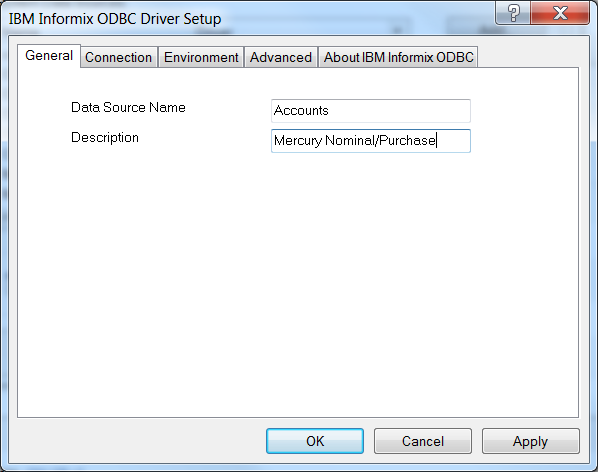
Add. Select INFORMIX 3.81 32 bit as the driver and click Finish Enter the data source name as: EPOS EPOS and
EPOS Maintenance Accounts Mercury Nominal / Purchase Members Mercury Members (Fees & Charges) Mercury Mercury Menus Payroll Mercury Payrol Jobcosting
Mercury Job Costing Rents Mercury Rental System Sales Mercury
Sales Invoicing Stock Mercury
Stock System Wine Mercury
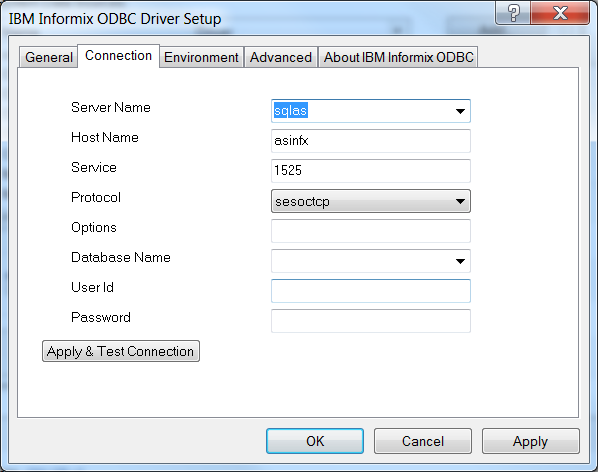
Wine System Click Next. Enter the Server name and host specific to your college. The
service and protocol is always as shown. The
database as follows although some may vary. EPOS
/home/files/fc/colleges Accounts /home/files/ca/commac Members
/home/files/fc/colleges Mercury
/home/files/me/mercury Rents
/home/files/rs/rental Payroll
/home/files/pa/paroll Jobcosting
/home/files/jc/jobcos Sales
/home/files/sl/salinv Stock
/home/files/sk/stock Wine
/home/files/ws/winest Use
your own “Mercury” User id and password Apply
and Test Connection Click Ok
|
|
|
Click
Start then Run or enter Run in the search box for Windows 7 or Vista In
the Run window type odbcad32 and click OK. (on
64 bit machine run the ODBC connection from C:\Windows\SysWOW64\odbcad32.exe) Or Click start – Control Panel –
Administrative Tools – Data Sources (ODBC) In
the ODBC Data Source Administrator window select the System DSN tab and click
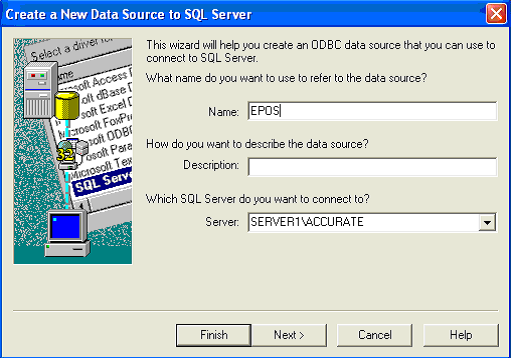
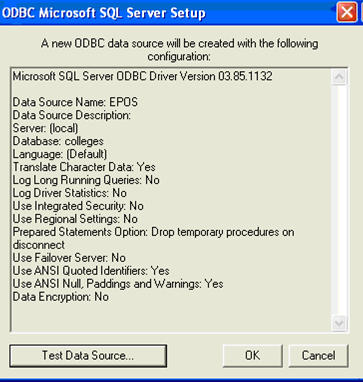
Add. Select SQL Server as the driver and click Finish Enter the data source name as: EPOS EPOS and
EPOS Maintenance Accounts Mercury Nominal / Purchase Members Mercury Members
(Fees & Charges) Mercury Mercury Menus Rents Mercury
Rental System Payroll Mercury Payroll Jobcosting
Mercury Job Costing Sales Mercury
Sales Invoicing Stock Mercury
Stock System Wine Mercury
Wine System Select
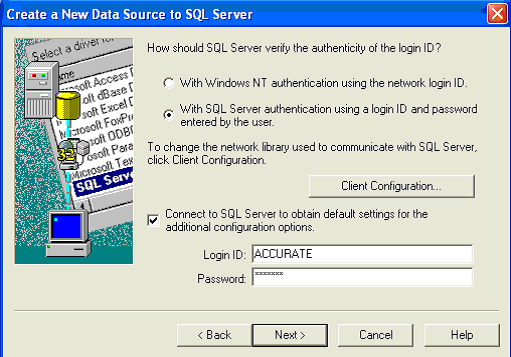
the server and click Next. Select
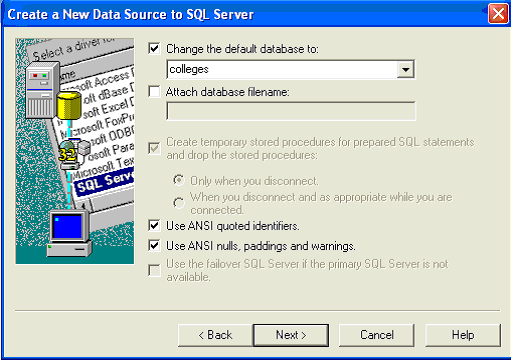
SQL Server authentication, enter your Login ID and Password then click Next. Un-tick the Default Database, select as below for the default
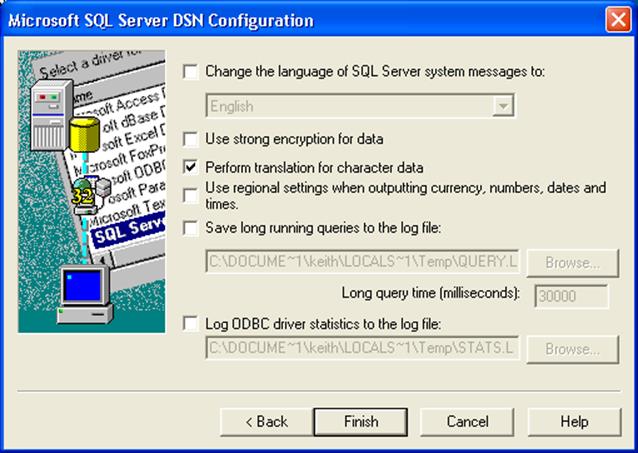
database EPOS colleges Accounts commac Members colleges Mercury mercury Rents rental Payroll paroll Jobcosting jobcos Sales salinv Stock stock Wine winest Click Next Click Finish Click OK to complete the procedure
|
|