|
EPOS |
EPOS
Screen Shots |
|
|
|
|
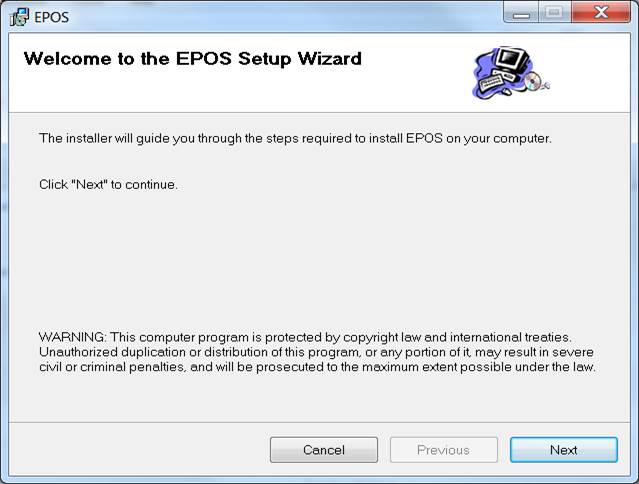
Accurate Solutions EPOS till program
Installation 1. Install EPOS Download
the correct version from our web site and run the install. Use all the
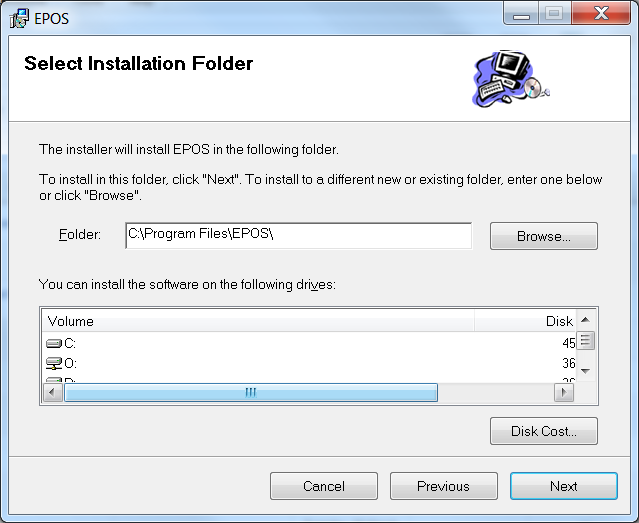
default options clicking ‘next’ until the installation is complete. For Windows 7 install to a directory where the till user/s
have full permission. We recommend ‘C\as’. The configuration file will normally be pre-configured
for the college. For updates the correct epos.exe may be downloaded from
our web site and replaces the previous epos.exe 2. ODBC Drivers Install Informix SQL Server – will be available
on the PC 3. ODBC Connection 1. Create a System Informix
ODBC data source or SQL Server
ODBC data source (DSN) named ‘EPOS’ 2. Connection information can be stored within the
programs configuration file and this is recommended. 3. Open the programs configuration file (install directory\System\config.dat
) using ‘Notepad’ or similar 4. Locate the connection options in the file. For SQL
Server and Windows authentication the connection string setting can be used,
in all other cases the ‘DSN’, ‘DB_USERNAME’ and ‘DB_PASSWORD’ settings must
be encrypted using ‘EPOS_encrypt.exe’ 4. Customer Display The customer display port is set within the till
programs configuration file (install directory\System\config.dat) and if the
display is integrated this should be set to 4 Customer Display Port= 4 5. Receipt Printer 1.
Windows
7 ·
Install
the drivers with ‘THERMAL PRINTER 4.11.exe’ ·
Select
‘Vender Thermal Printer’ and click ‘Installation’ ·
Select
the Com port to which the printer is connected and click ‘OK’. ·
The
machine will need to re-start for the installation to complete. ·
Once
re-started open the installed ‘VENDOR THERMAL PRINTER’ and change the name to
‘EPOS’. 2.
Windows
XP ·
Run
EPSON TM Printer Driver Ver 1.61-Tdr161e.exe –
double click to install ·
Start/Settings/Printers ·
Add
Printer (Wizard) ·
Local
Printer (Make sure printer is plugged into machine) ·
Click
onto Have Disk ·
Browse
to C:TMdrive ·
Select
Operating System from list ·
Filename
will now appear on the left hand side ·
Select
OK ·
Select
OK ·
Select
Printer (EPSON TM-T8811 Partial Cut) ·
Select
the port to be used with the printer ·
Rename
printer to EPOS (right click on icon settings/printers) ·
Right
click on printer icon - select properties ·
Select
Paper ·
Select
Custom ·
User
Defined Size - Select width 800 mm length 32760 mm 6. Cash Drawer For Windows 7 the cash drawer must be connected to the
dedicated RJ11 port on the till and this is the recommended set up. It is
possible to connect the cash drawer to the printer if the operating
system is Window XP and the printer drivers have been installed using ‘EPSON
TM Printer Driver Ver 1.61-Tdr161e.exe’. If connected to the dedicated RJ11 port on the till
then the port and fire code must set within the till programs configuration
file (install directory\System\config.dat).
|
|
|
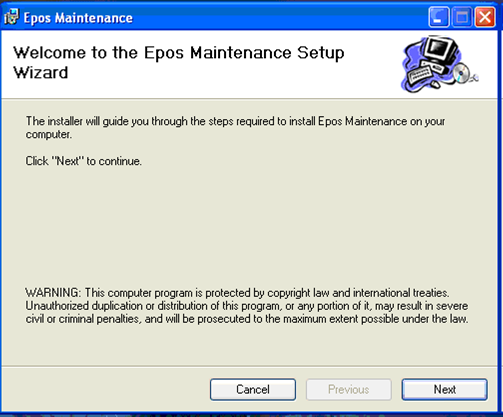
1. Installation ·
Download
the correct version from our web site ·
You must be logged in to the pc as an administrator to install
EPOS Maintenance ·
Double click EPOSMaint.msi, to start the installation wizard.. ·
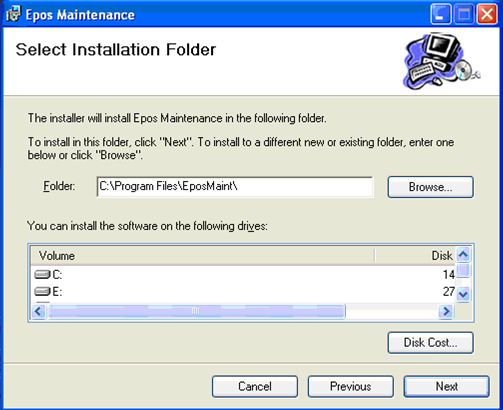
Click ‘Next’ ·
Confirm the installation folder and click Next ·
Click Next to install. 2. ODBC
Drivers Install Informix SQL Server
– will be available on the PC 3. ODBC
Connection 1. Create a System Informix ODBC data source or SQL Server ODBC data source (DSN)
named ‘EPOS’ Versions 3.1 and Above. For these versions the
application can be configured to login to the database without the user
entering a database user name and password. Users can then be set up within
the application and these application logins will be used for authentication
(see documentation). ·
Open the applications configuration file config.dat using
Notepad or similar. This file can be found within the System folder in the
installation directory, default would be; C:\Program Files\EPOSMaint\System\config.dat. ·
Remove // from the start of the DB_USERNAME and DB_PASSWORD ·
Double click EPOS_Encrypt.exe to run the encryption program,
this will also be in the System folder with config.dat. ·
Enter the username in the Text To
Encrypt box and click Encrypt. ·
Check the message displayed contains the username and click OK. ·
Click Copy To Clipboard and paste the result into the
configuration file ·
(config.dat) after DB_USERNAME= ·
Repeat the process for the password.
|
|