|
Overview
Documentation |
Overview
Screen Shots |
|
Standard Program Features Selection Criteria
|
|
|
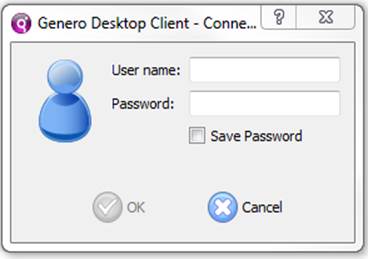
Logging In Click the Mercury
icon on your desktop Some users will not see the login form
as they are using Windows Authentication. Enter you user name and password. Click OK The splash screen will display
momentarily followed by your menu.
|
|
|
Click on the > to expand the menu or compress the menu. Double click on the menu item required to run the
program Your diary is displayed on the right
hand side and will show the diary items for today. (see Diary functions)
|
|
|
Output Report in Standard PDF Format Output Formatted
Report to PDF Output Report as a .CSV (file only)
|
|
|
accept Return Enter add Insert amend
CONTROL-SHIFT-A append CONTROL-F3 cancel F8 change
CONTROL-SHIFT-E clip CONTROL-SHIFT-C close CONTROL-F4 college CONTROL-SHIFT-X company CONTROL-SHIFT-X copy_program
Control-P defaulttoday CONTROL-SHIFT-T delete Control-D Delete deleterec Control-D Delete editcopy CONTROL-C editcut CONTROL-X editpaste CONTROL-V email CONTROL-E excel CONTROL-L find CONTROL-F finish F8 finish_trace F9 first Home firstrow Home help CONTROL-H helpresume Escape helpscreen Return hide_navgrid CONTROL-N insert F3 last End lastrow End load CONTROL-O members CONTROL-M mimic CONTROL-M nextfield Tab nextpage Next nextrow Down notes CONTROL-N payroll CONTROL-X prevfield Shift-Tab prevpage Page up prevrow Up print CONTROL-P printer Control-R quit ALT-Q reportnextpage Return review CONTROL-Z run CONTROL-R run_report
CONTROL-R rundist CONTROL-D search CONTROL-Shift-F select Enter select_all
CONTROL-A select_none
CONTROL-X select_reverse CONTROL-R selection CONTROL-S selections CONTROL-S send_email
Return Enter show_navgrid CONTROL-N text CONTROL-T toggle CONTROL-T transactions CONTROL-T uni CONTROL-U update CONTROL-U view CONTROL-V window CONTROL-W zoom CONTROL-Z zoom_ab CONTROL-Z zoom_by CONTROL-Z
|
|
|
Standard Progarm Features Grid
Functions Right click on any
grid for the standard options.to copy to the clipboard and paste into another
application such as Excel. ·
Clipboard
– The entire grid ·
Copy
cell - The current cell ·
Copy
visible column ·
Copy
row ·
Copy
Visible Table Some
grids will have specific options which will be explained in their
documentation. Click
on any heading line to sort on that column toggling between ascending and
descending. An
indicator ^ ascending, v descending will show above the column heading. Right
click on any column heading to expose a list of columns. Utick
any columns you do not wish to see. This will be stored and used on
subsequent sessions of the program. Navigation
grid There are vertical
navigation grids and horizontal navigation grids. All the grids can be
navigated using the standard movement keys: arrow up arrow dow page up page down home – start of the
grid end – end of the grid Click or move to a row
in the grid and the main view will change to that record and display the
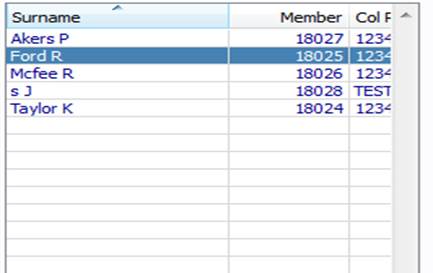
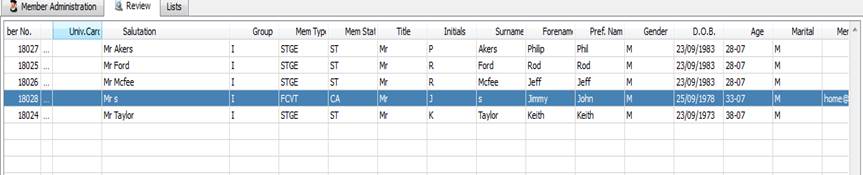
record details. The vertical grids,
like the members adminstration, will appear on the
left of the form and will generally contain more rows than the horizontal
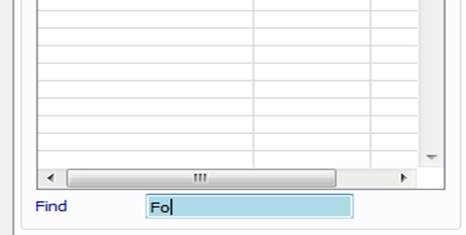
grids. They will have a search feature at the botton
of the grid – “find”. Key into the box next to “Find” and the system will
move to entries in any column that start with the characters entered. |
|
|
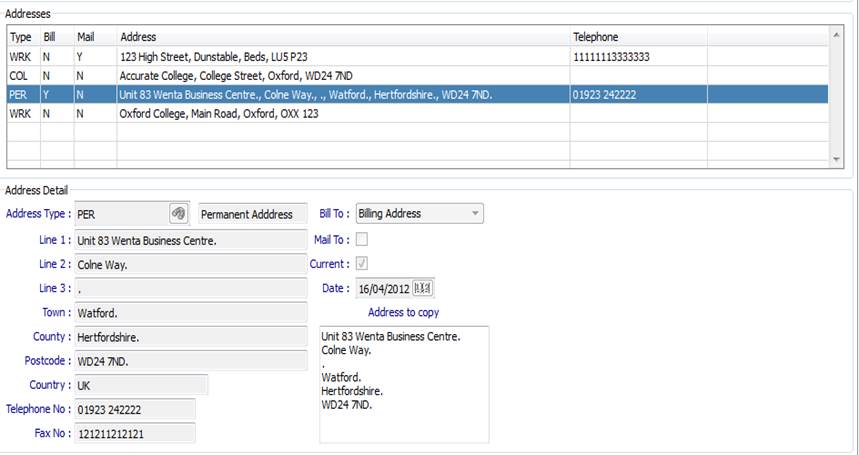
The horizontal grids, like the
addresses in member adminstration
, will appear on the above of the form
and as a row is selected the details of that row will be displayed. Review The reviews will appear on a
separate tab and show many colums The standard grid
functions will be available.
|
|
|
The “Maintenance”
icons will be enabled if they are valid at a particular place in the system
and your “role” has permission.
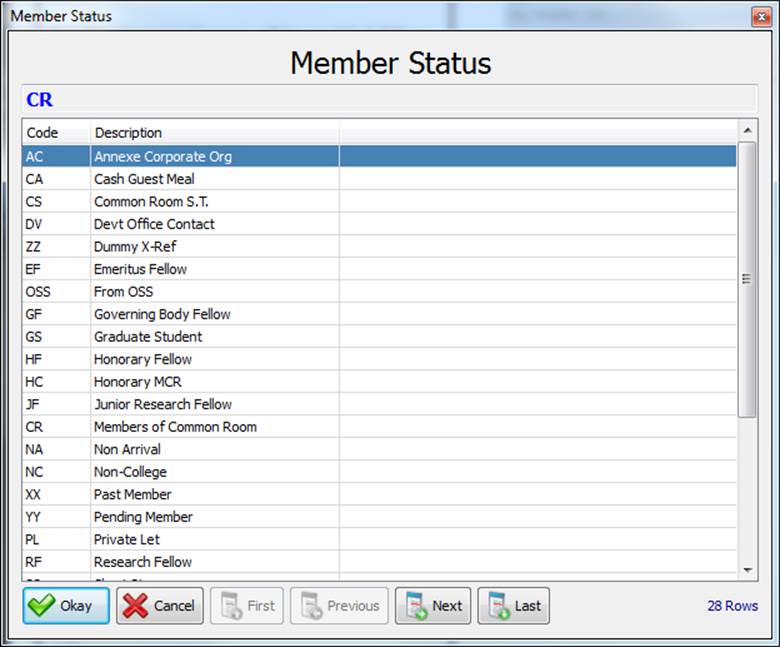
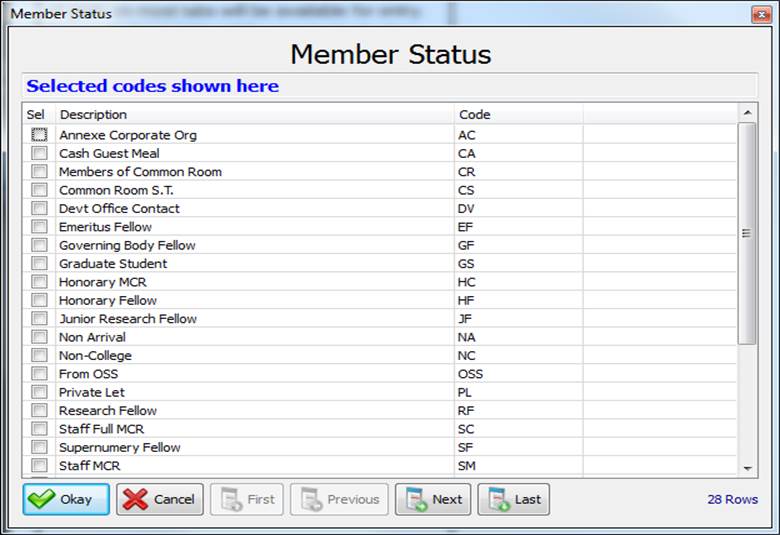
This differs to the look-up when
in “change” or “add” mode as only 1 code may be selected at this stage. Click on the code you wish to
enter and click Ok. Click Cancel
to return to the main form
|
|
|
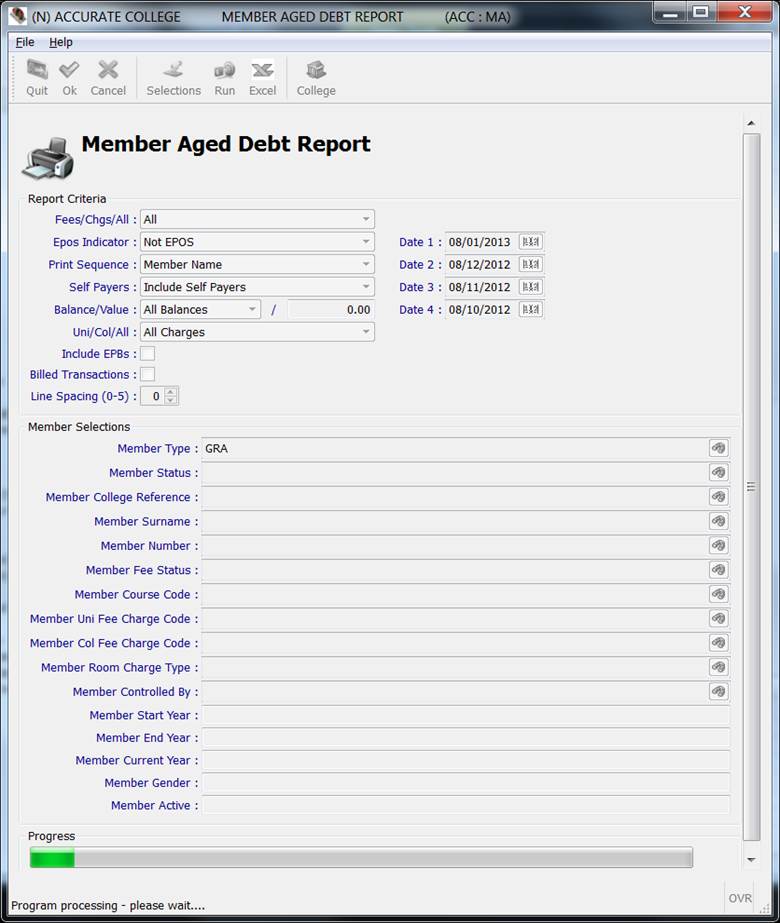
Running any Mercury report will
provide the user with the following options on the main program toolbar.
Output Report in Standard PDF Format This is the Mercury2
format (as PDF).This option may not be available for new reports. Output Formatted Report to PDF Formatted by the
Reporter, there may be more than style of formatted report. Output Report as a .CSV (file only) The report will be
output to your default temporary folder as seen via the User Access Control, with a name of userid.csv. Excel icon will be
enabled to view the file. The progress will be displayed at the bottom of the form. The
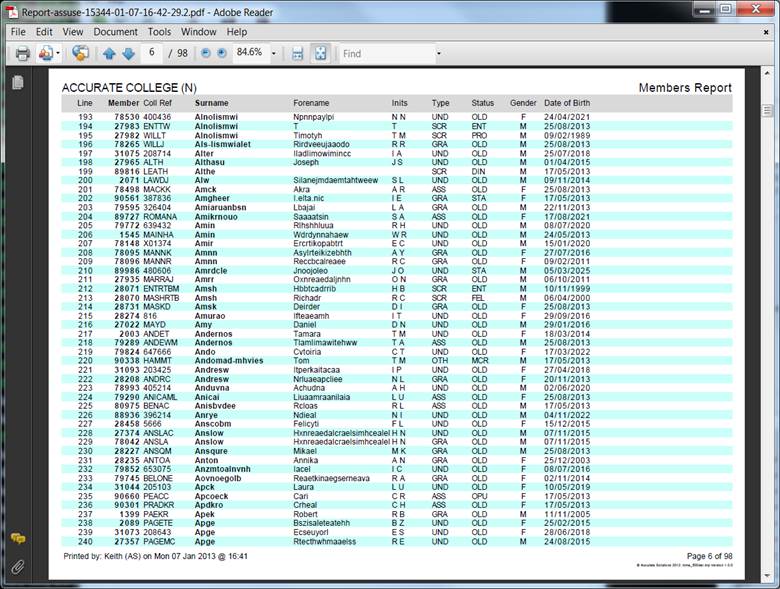
green bar may reach the end a few times before the report is complete . To print the report
select the print option from Excel
or the PDF viewer. To save the report
select the save option from Excel or the
PDF viewer.
|
|
|
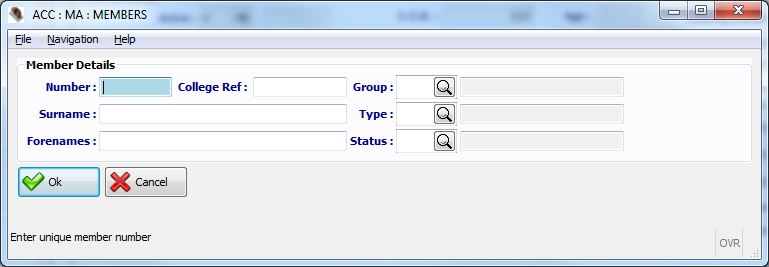
Look
Up / Zoom Screens
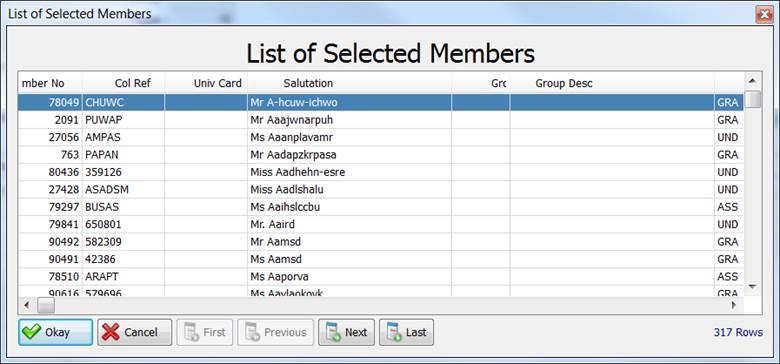
The Member lookup provies extra search options before it shows the look up
form. You can enter in the various boxes to reduce the list of members to
select from. This lookup selects just 1 member. Click on the codes you wish to
search for and click Ok. Click Cancel
to return to the main form Entering
selection criteria Most character entries are case
sensitive so “A” and “a” are different characters. Only the surname, forename
and address lines are case insensitive. (“A” and “a” are the same) Alpha Fields SM* will find all records
beginning SM (Smith,Smollett etc) *al* will find all records
containing consecutive al (Palmer,Talbot etc) *ins will find all records
ending ins ( Jenkins,Tompkins etc) [BDG]* will find records beginning
with B,D or G (Brown,Davies,Green etc) BAY|BOX will find records that are BAY or
BOX BAY:BOX will
find records that are between BAY
and BOX inclusive. Numeric Fields >500 will find all records
greater than 500 <500 will find all records
less than 500 >=500 will find all records
greater than or equal to 500 <=500 will find all records less
than or equal to 500 <>500 will find all records not
equal to 500 500:600 will find all records between
500 and 600 Date Fields >021010 will find all records greater
than 02/10/10 <021010 will find all records less
than 02/10/10 >=021010 will find all records greater
than or equal to 02/10/10 <=021010 will find all records less than
or equal to 02/10/10 <>021010 will find all records not equal
to 02/10/10 021010:041010 will find all records between 02/10/10
and 04/10/10 Special Characters “*” is a wild card that matches any
character and any number of characters. “?” is a wild card
that matches any single character. (T?y) “:” denotes a range
(100:200 inclusive) “|” creates a list
(STGE|NAAE|CLQA)
|
|
|
Why does F for find no longer work In Mercury2 the access to the
forms was very rigid and you had to move between the menu and grids via the
menu. In Mercury3 we allow greater
access to menus and grids such that you can move directly between grids and
the menu. (the control F has been introduced to
Mercury2). In Mercury3 have had problems using the keys as
shortcut keys as just letters and have introduced the control key to
distinguish between and F and control F (find). This will extend to all shortcut keys and there is a list in
the Mercury3 online help.
|
|